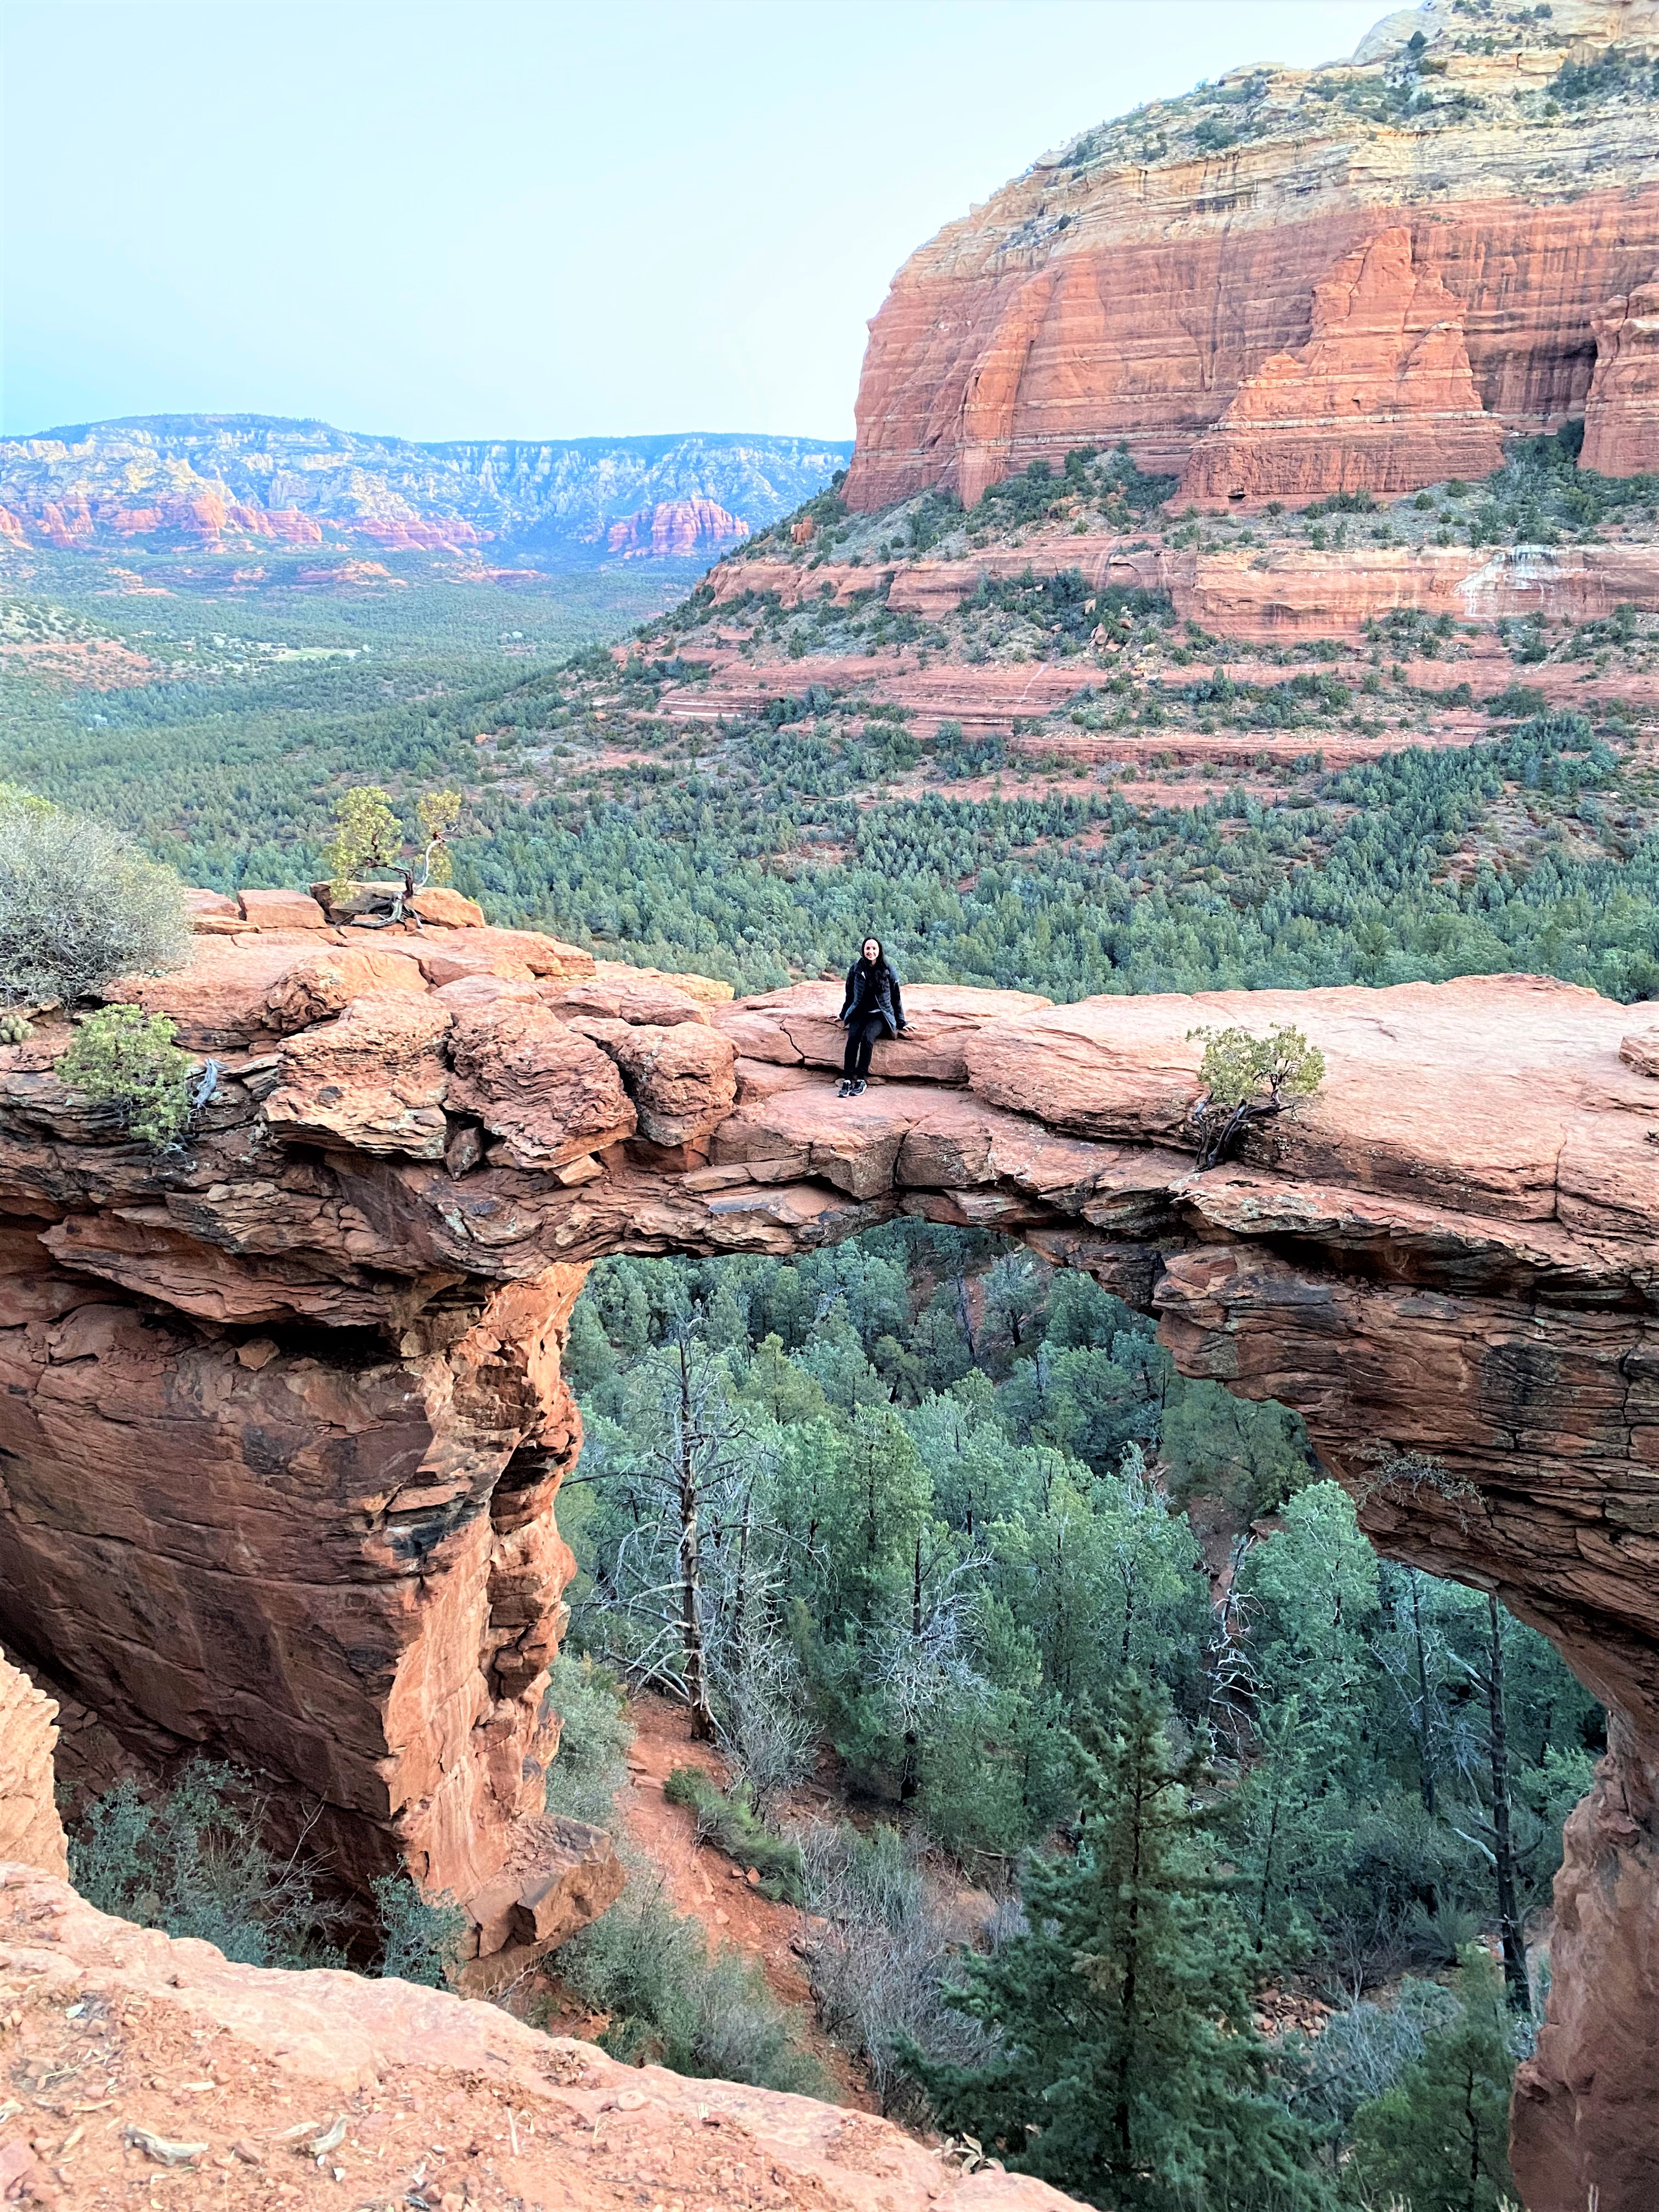
Hiking Devil’s Bridge in Sedona is the perfect way to see some beautiful views and also if you want an Instagram-worthy shot!
If you didn’t take a picture, It didn’t happen, right?
Don’t let the name scare you…it is a great hike that ends with Sedona’s largest natural sandstone arch bridge. It is pretty iconic – so it’s definitely a must-see if you’re in Sedona, Arizona especially at sunrise!
This is not an expert hiking guide, but it is for any first-timers in Sedona or anyone looking for tips and ideas on some must-see activities.
I’ll be the first to admit that I am not a hiker, not even close! I don’t own any professional hiking gear. Although, I wouldn’t mind owning a pair of cute hiking boots!
*opens a new Amazon tab*
I grew up in Florida, which is as flat as it gets! It’s the flattest state in the USA. So even though I’ve walked a few nature trails here and there, I’ve never been on hikes where you experience elevation changes because it’s not that common in Florida. So, I was a little worried about hiking Devil’s Bridge.
Luckily, this trail to Devil’s Bridge is easy because it’s mostly flat until you get closer to the bridge, where it gets a little steep and rocky (think of a rock staircase), but overall it’s still pretty easy. We saw tons of families with young kids on this hike. Just take precautions when walking across the bridge with children.
Here are my recommendations for SURVIVING (just kidding) hiking Devil’s Bridge!
Start Early!
One of the downfalls of hiking Devil’s Bridge in Sedona is its popularity. Because it is so popular, it gets crowded with people trying to get their pictures taken on the bridge.
Our main goal was to avoid the crowds and be on the bridge in time to see the valley around the bridge light up at sunrise. That meant we needed to be at the bridge by 6 am (sunrise time in the spring).
Helpful Tip:
Find out exactly when’s sunrise time at the time of your visit.
And then plan to be on the trail to start hiking Devil’s Bridge in Sedona, at least an hour before the sun is supposed to rise.
We were on the trail already by 5 am with no crowds and had the trails to ourselves the entire way to the bridge. We were one of the first few people to arrive at the bridge, got to see the sun come up and took tons of pictures. But most importantly, we were able to enjoy the scenery peacefully.
If you also want to avoid large crowds, get an early start as we did. We saw SWARMS of people making their way up to the bridge as we were making our way down – and a long line of people waiting to have their pictures taken on the bridge had already started to form. It’s an early start, but it will be worth it!
Red Rock Parking Pass
It basically depends on where you park- some trailheads require a pass while others do not. If you park in the Mescal Trailhead parking lot, you won’t need a Red Rock Pass. However, we didn’t want any surprises, so to be safe- we purchased a $5 daily pass at a nearby gas station before heading to the parking lot and displayed it on our windshield. For more information on the Red Rock Passes in Arizona, check out Recreation.gov.
Best Route
There are a few different ways to get to Devil’s Bridge but we decided to start on the Mescal Trailhead. The Mescal Trailhead then connects to Chuckwagon Trail toward the bridge. We have no complaints…it was 4 miles round-trip, most of the trail was flat and it was easy to follow the signs to Devil’s Bridge.
Where to Park
We parked at the Mescal Trailhead parking lot along Long Canyon Road and only saw one other car there when we arrived. But the parking is very limited, so the earlier you get there, the better your chance of getting a spot.
Gear
As I mentioned earlier, I don’t own professional hiking equipment, and for this hike, I don’t think you need any anyway. I only needed a few items: a backpack, water, and a headlamp (since we started our walk very early and it was dark). So take a headlamp or a flashlight.
What to Wear
I was there in March (spring), and at 5 am, when we were already on the trail, it was 20 something degrees Fahrenheit. So I made sure to wear layers, an insulated jacket and gloves to keep my hands warm.
I had a beanie with a headlamp on it which I received as a Christmas gift and thought I’d NEVER use. It turned out to be the BEST thing to have on our trip. It proved to be a game-changer for walking the trails because it was pitch-black, so it helped to see where we were going and to read all the trail signs. And it also provided warmth!
I wore good athletic sneakers, but if you’re planning on doing more difficult hikes that day or just need better support, you may want to bring a pair of hiking boots. But for this hike, I didn’t find it necessary.
Trail Difficulty
It’s considered an easy to moderate hike because it’s mostly flat until you get closer to the bridge where it gets a bit steep. You may have to use your hands to climb up the rock stairs, but it is a short section.
Length of the Hike
About 2-3 hours
and Lastly…
Don’t be scared to walk the bridge because it’s not as scary as it looks!
When you finally get to the bridge, it can look pretty intimidating. But once start walking on it, you realize that it is wide enough and not scary at all!
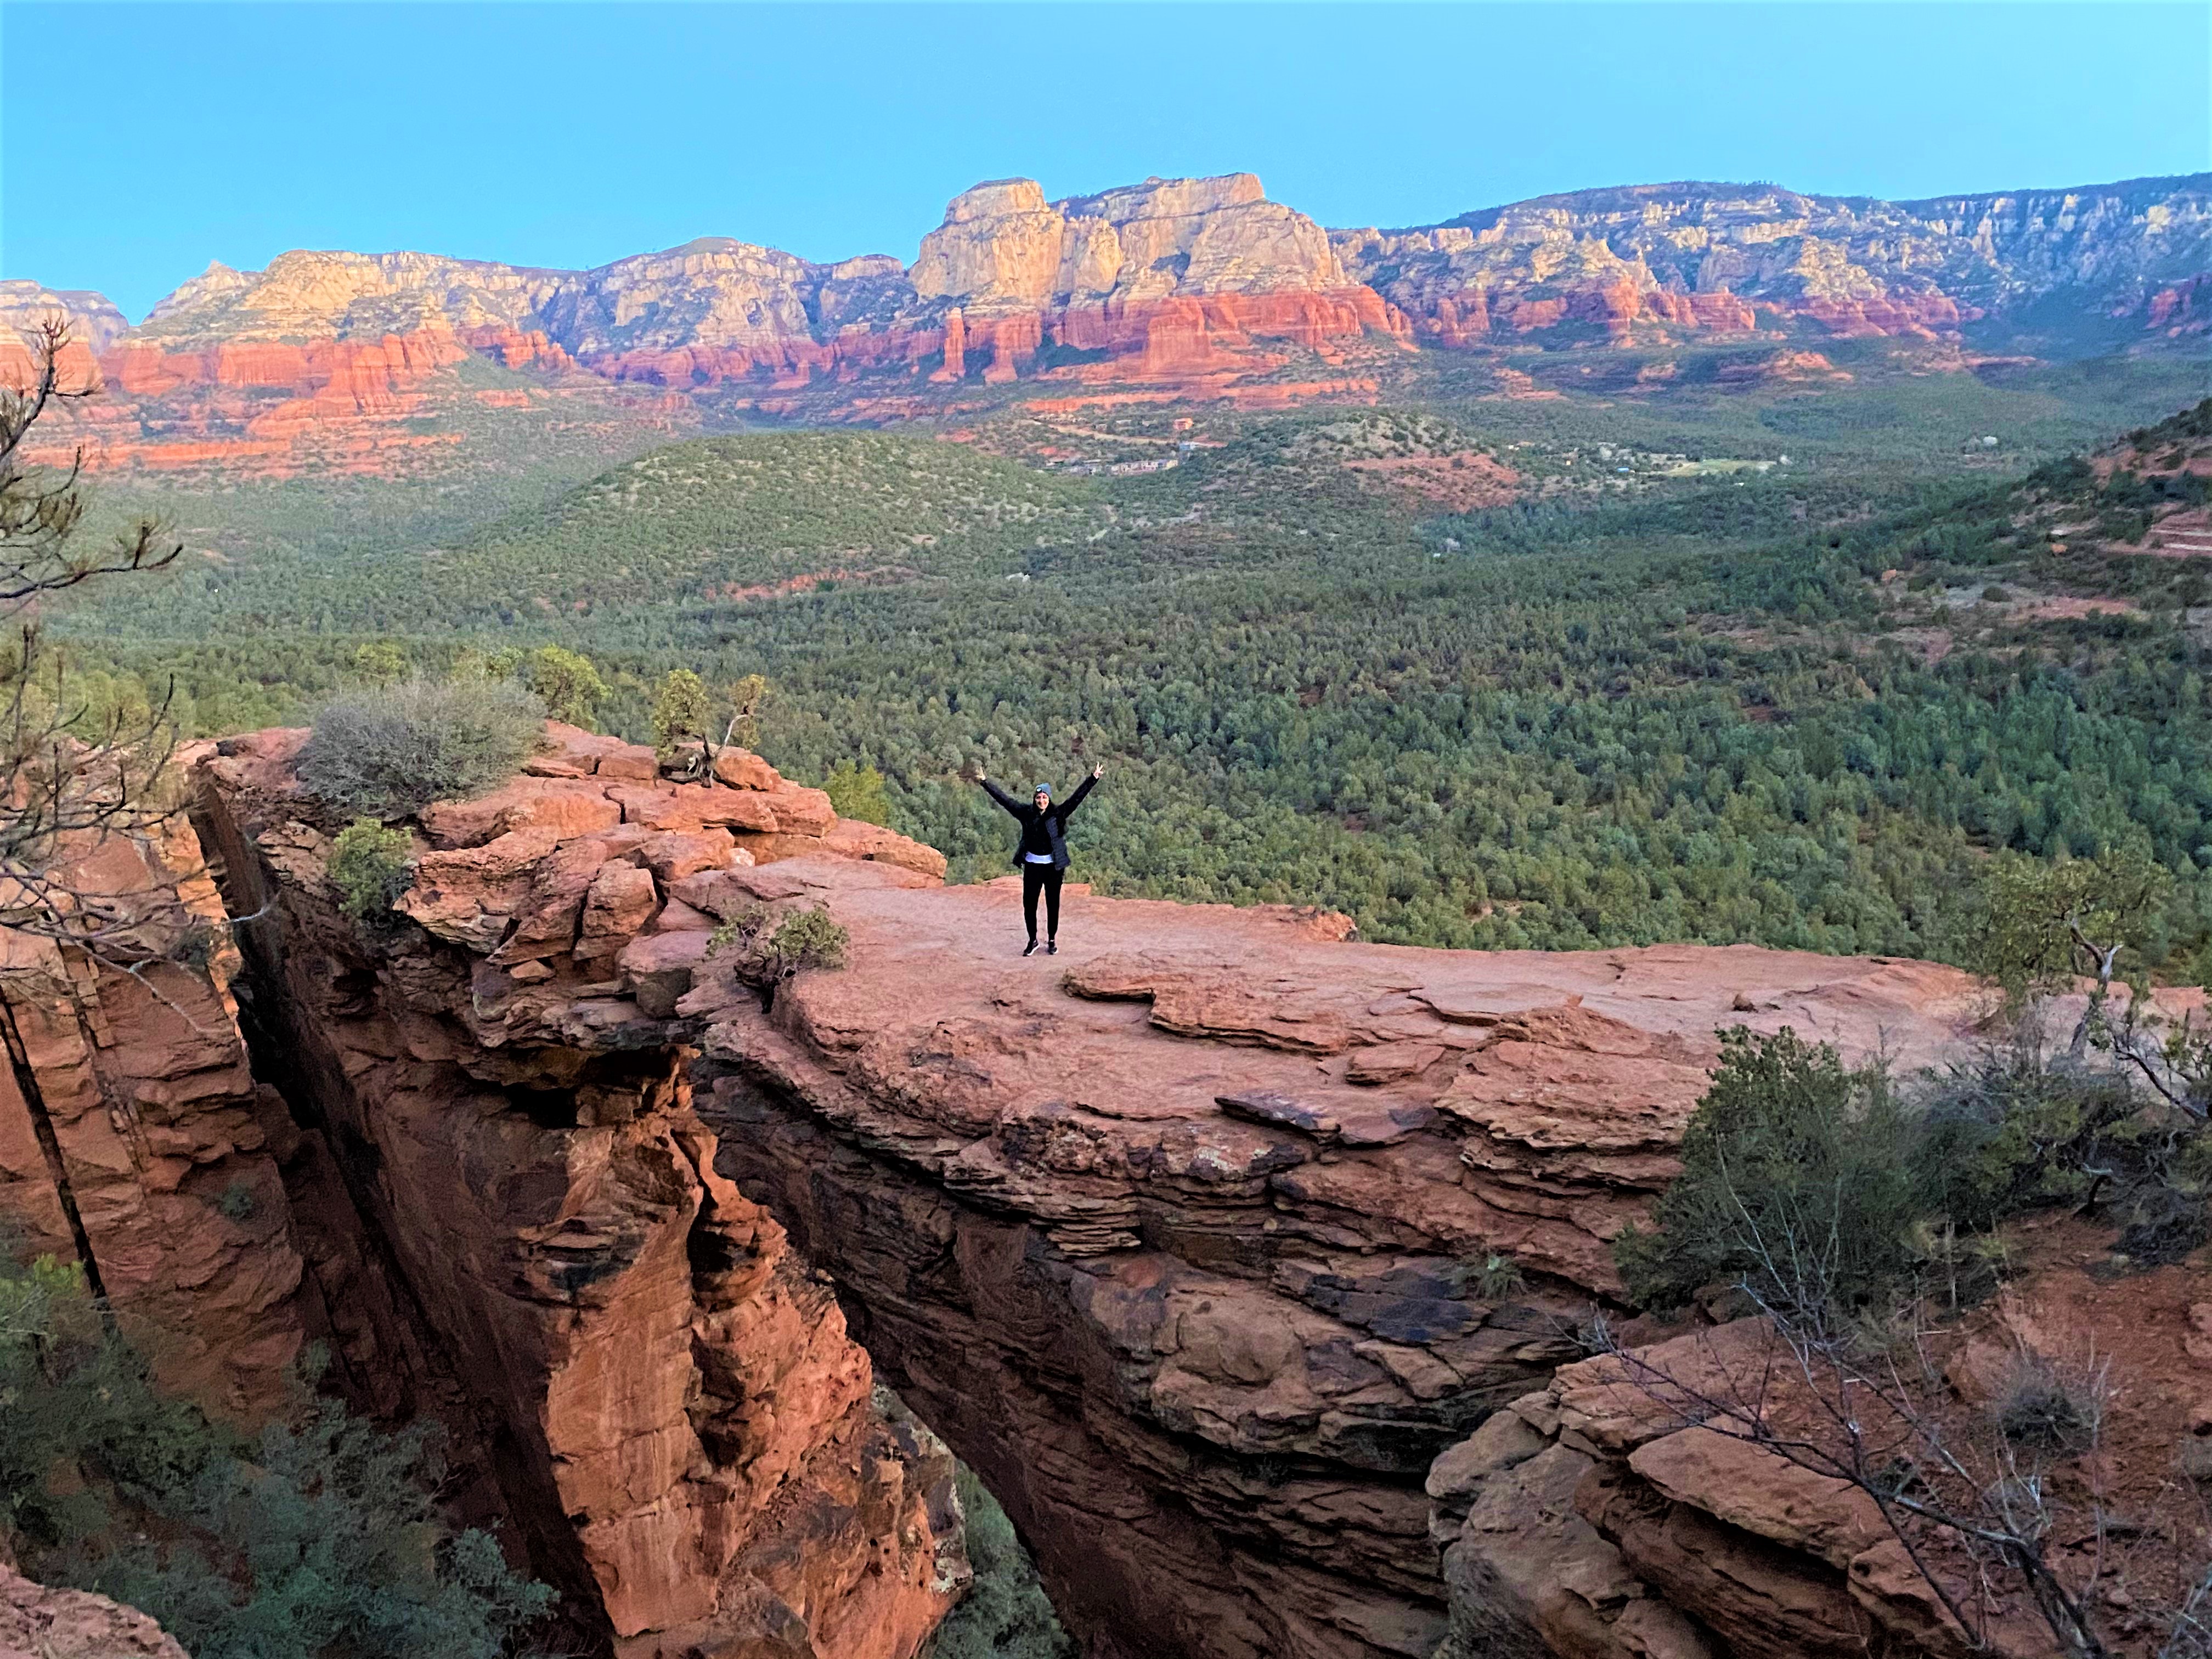
As a first-timer in Sedona, you need to see it for yourself and at sunrise if possible, to really understand how magical it feels to be among these natural rock structures.
For more ideas on what to do in Sedona, check out my Top Things to See and Do in Sedona, Arizona guide.

Leave a Reply